Rock Painting 101: get started with rock painting today using paint pens
For anyone who is new to the concept of Rock Painting, I will give you a quick background, and then get into the details of how to paint rocks...and why!
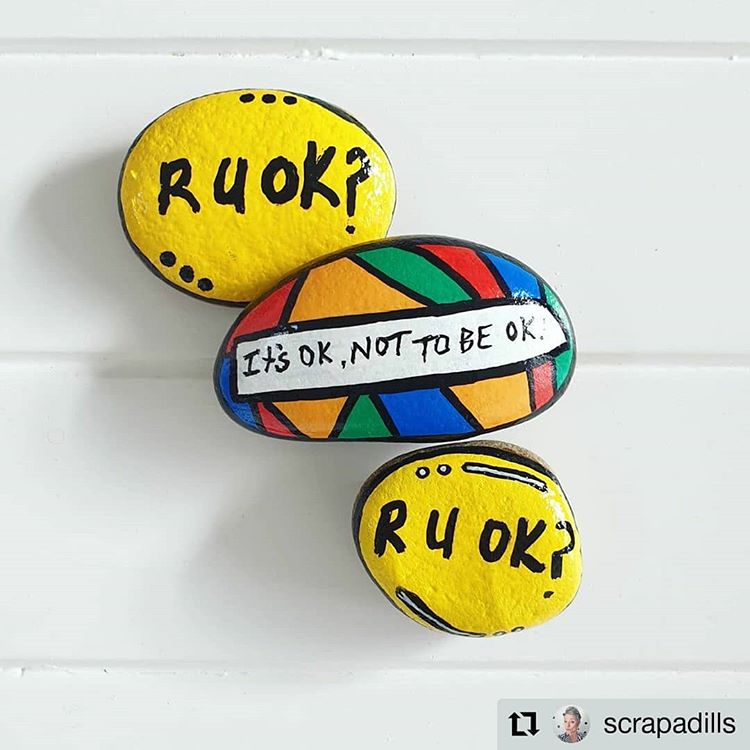
The Kindness Rocks Project is an initiative which has taken the world by storm, specially Australia and New Zealand have very active and supportive rock painting communities.
Here's a short video of one of our favourite art contests to date, where people all over Australia and New Zealand painted what they love most about our countries.
The basic idea is to paint rocks, hide them in nature, and know that someone will find them. The rocks are for spreading messages of kindness, encouragement or colour, which you know will put a smile on the finders faces.

Some of the amazing benefits of picking up rock painting as a hobby are:
- Get yourself and your kids creative, outdoors and inspired
- It is an all-in-one perfect activity for all ages.
- Gets the kids out the house and off their devices
- Relaxation and mindfulness after a hard day at work, or a new purpose after retiring or recovering from surgery...
- It is something for the whole family to do together
- It inspires people of all ages to use their creativity and it spreads kindness and happiness.
- Your kids art will live on something more "functional" than paper
It is everything that Life of Colour embraces in short!
Who has space in their house for the thousands of pieces of paper our kids draw or paint on? Some may go on the wall, but most end up in a box and then what? In the recycle bin 😕
By encouraging rock painting for kids of all ages, you teach them how to be more mindful of the process, use their imagination to come up with new drawing ideas, shows a practical example of patience and taking the time to enjoy the entire creative journey (And they can keep something on show for all to see or gift out to their school friends - but not all rocks need to be given away, remember that!)
If you follow my instructions your rock art will be hardy and long lasting, and you can create a fun rock garden to store these rocks for years to come.
Here is a basic step by step guide on the best way to paint rocks to keep them colourful, shiny and weatherproof.
Step 1: Buy or find rocks
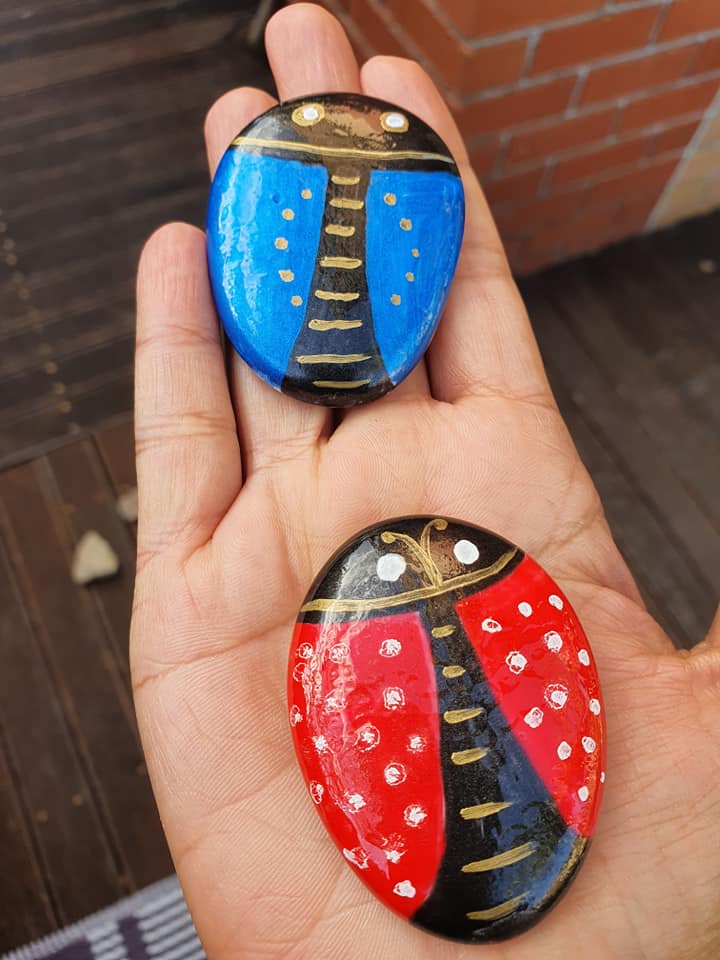
The rock is going to be your canvas, so make sure you have rocks that inspire your upcoming creations! Find rocks with funky shapes, or beautiful colours, bigger for detailed scenes or tiny for tic-tac-toe projects and collections.

This fantastic watermelon and kiwi tic-tac-toe with rocks made by Samantha Dorahy is the perfect example that the perfect rocks inspire the artist!

Alan Spears' crocodile rock is another fantastic example of rocks that inspire you to create based on their shape!
You can read a bit more about this subject, in this in depth blog post:

I went to Bunnings (or any local gardening, landscaping or hardware shop) and bought unpolished garden rocks that look like this

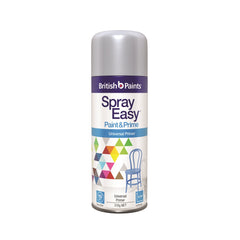
Step 2: Prime your rock with a primer
Wash your rocks to remove any dirt or dust before starting. Let them dry and then you have an option of sealing or priming the rock to make a nice smooth surface to the rock.
You can use a spray primer or a brush on primer/undercoat from dulux. Do one side at a time and make sure the entire coat of primer is dry first before starting to paint.
This evens out the surface of the rock and gives it a nice light background to paint on and make colours pop a bit more (helps with the application of the paint so the rock is not scratchy or bumpy) Please note here, you do not have to prime, but I prefer to and it makes my rocks look better.


Another option is priming with white acrylic paint using a broad brush. Take the opportunity and prime a batch of rocks at the same time to make the process speedier for you. Casey Smith explained her process for these beautiful pastel backgrounds in Life of Colour Art Group: "the background colour is acrylic paint mixed with a pot of white that I got from Bunnings. I always add the white because it makes the paint thicker (easier to spread and you don’t have to do anymore then 2 layers) and the colours nicer for a background"

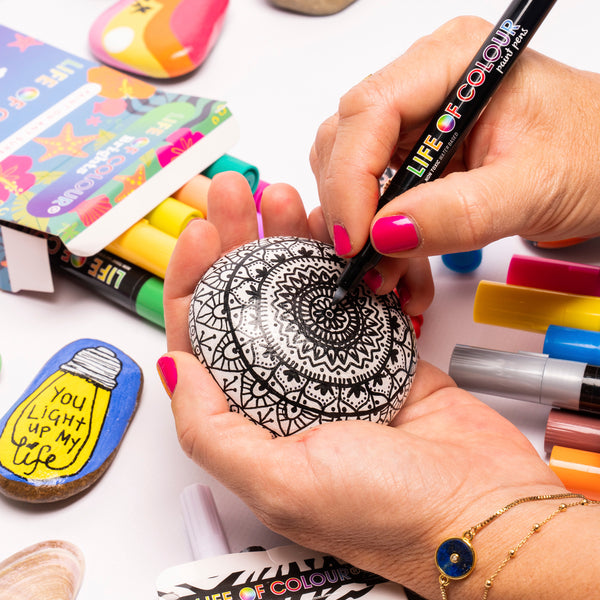
Step 3: Get out your awesome Life of Colour acrylic paint pens
Now of course I recommend paint pens because we make the paint pens, but you can also use acrylic paint with a paint brush. I prefer the pens because it is much easier to control a pen on such a small surface area. Also the paint pens allow you to have loads of colours in one small box (12 per box) and they are mess free and compact and the colours are awesome!

Use the fine tip pen to draw out your picture. Tracing is allowed!! Find a cute picture on the internet and copy it, or simply do a cute heart or rainbow. You really do not have to be an artist to do this!

You can find very easy rock painting tutorials, beginners to advanced and learn how to make fun rock ideas!
Step 4: Add your colour
As mentioned above...Life of Colour Paint pens has loads of amazing colours to choose from. Classic, glitter and metallic...go totally mad!
Get your assorted Life of Colour paint pens in our shop, free shipping over $40 on Australia and flat shipping to New Zealand.

Step 5: Seal your work with a nice satin finish
This sealer will weatherproof your artwork with a nice smooth and shiny satin finish. It is not as thick as a varnish (which is 4 times thicker, but personally not as nice looking) Varnish will have a stronger level of protection, but I find this satin finish enough. (Resin is also an option, but now we are getting a bit more technical)
This will protect your rocks when hiding them out in nature and make it look shiny and glossy and like a real artwork.
Now you will have something you and your kids can be really proud of. You can choose what you want to do with this rock. Give it to your kids teacher as a message of thanks, for a friends birthday instead of a card, in your home rock garden, or go out and hide it in the park and know that you are going to make someone very happy when they find it.
You can buy our entire set of paint pens and save with this bundle below. Or check our our shop for individual sets.