
Make a fancy watercolour envelope for the Holidays!
Hey guys, Selene @lettering_our_world here, today I bring to you a tutorial of how to make your own watercolour envelopes using your watercolour pens. Remember to show us your work by tagging @lifeofcolour.pens and @lettering_our_world, I would love to see what you have created!
How many times you wanted to give or send a letter and you don’t have an envelope? Well that ends now. If you want to make something different and special, this is it, as for me, there is no other nice and awesome present I have ever received than something hand made, why is this? Well because we know that when the person that gave us a handmade present you know it was with all their love, right?
So let’s do this and give that smile to that especial person you love.
Here are some ideas of envelopes you can create.

What you will to make these fantastic envelopes:
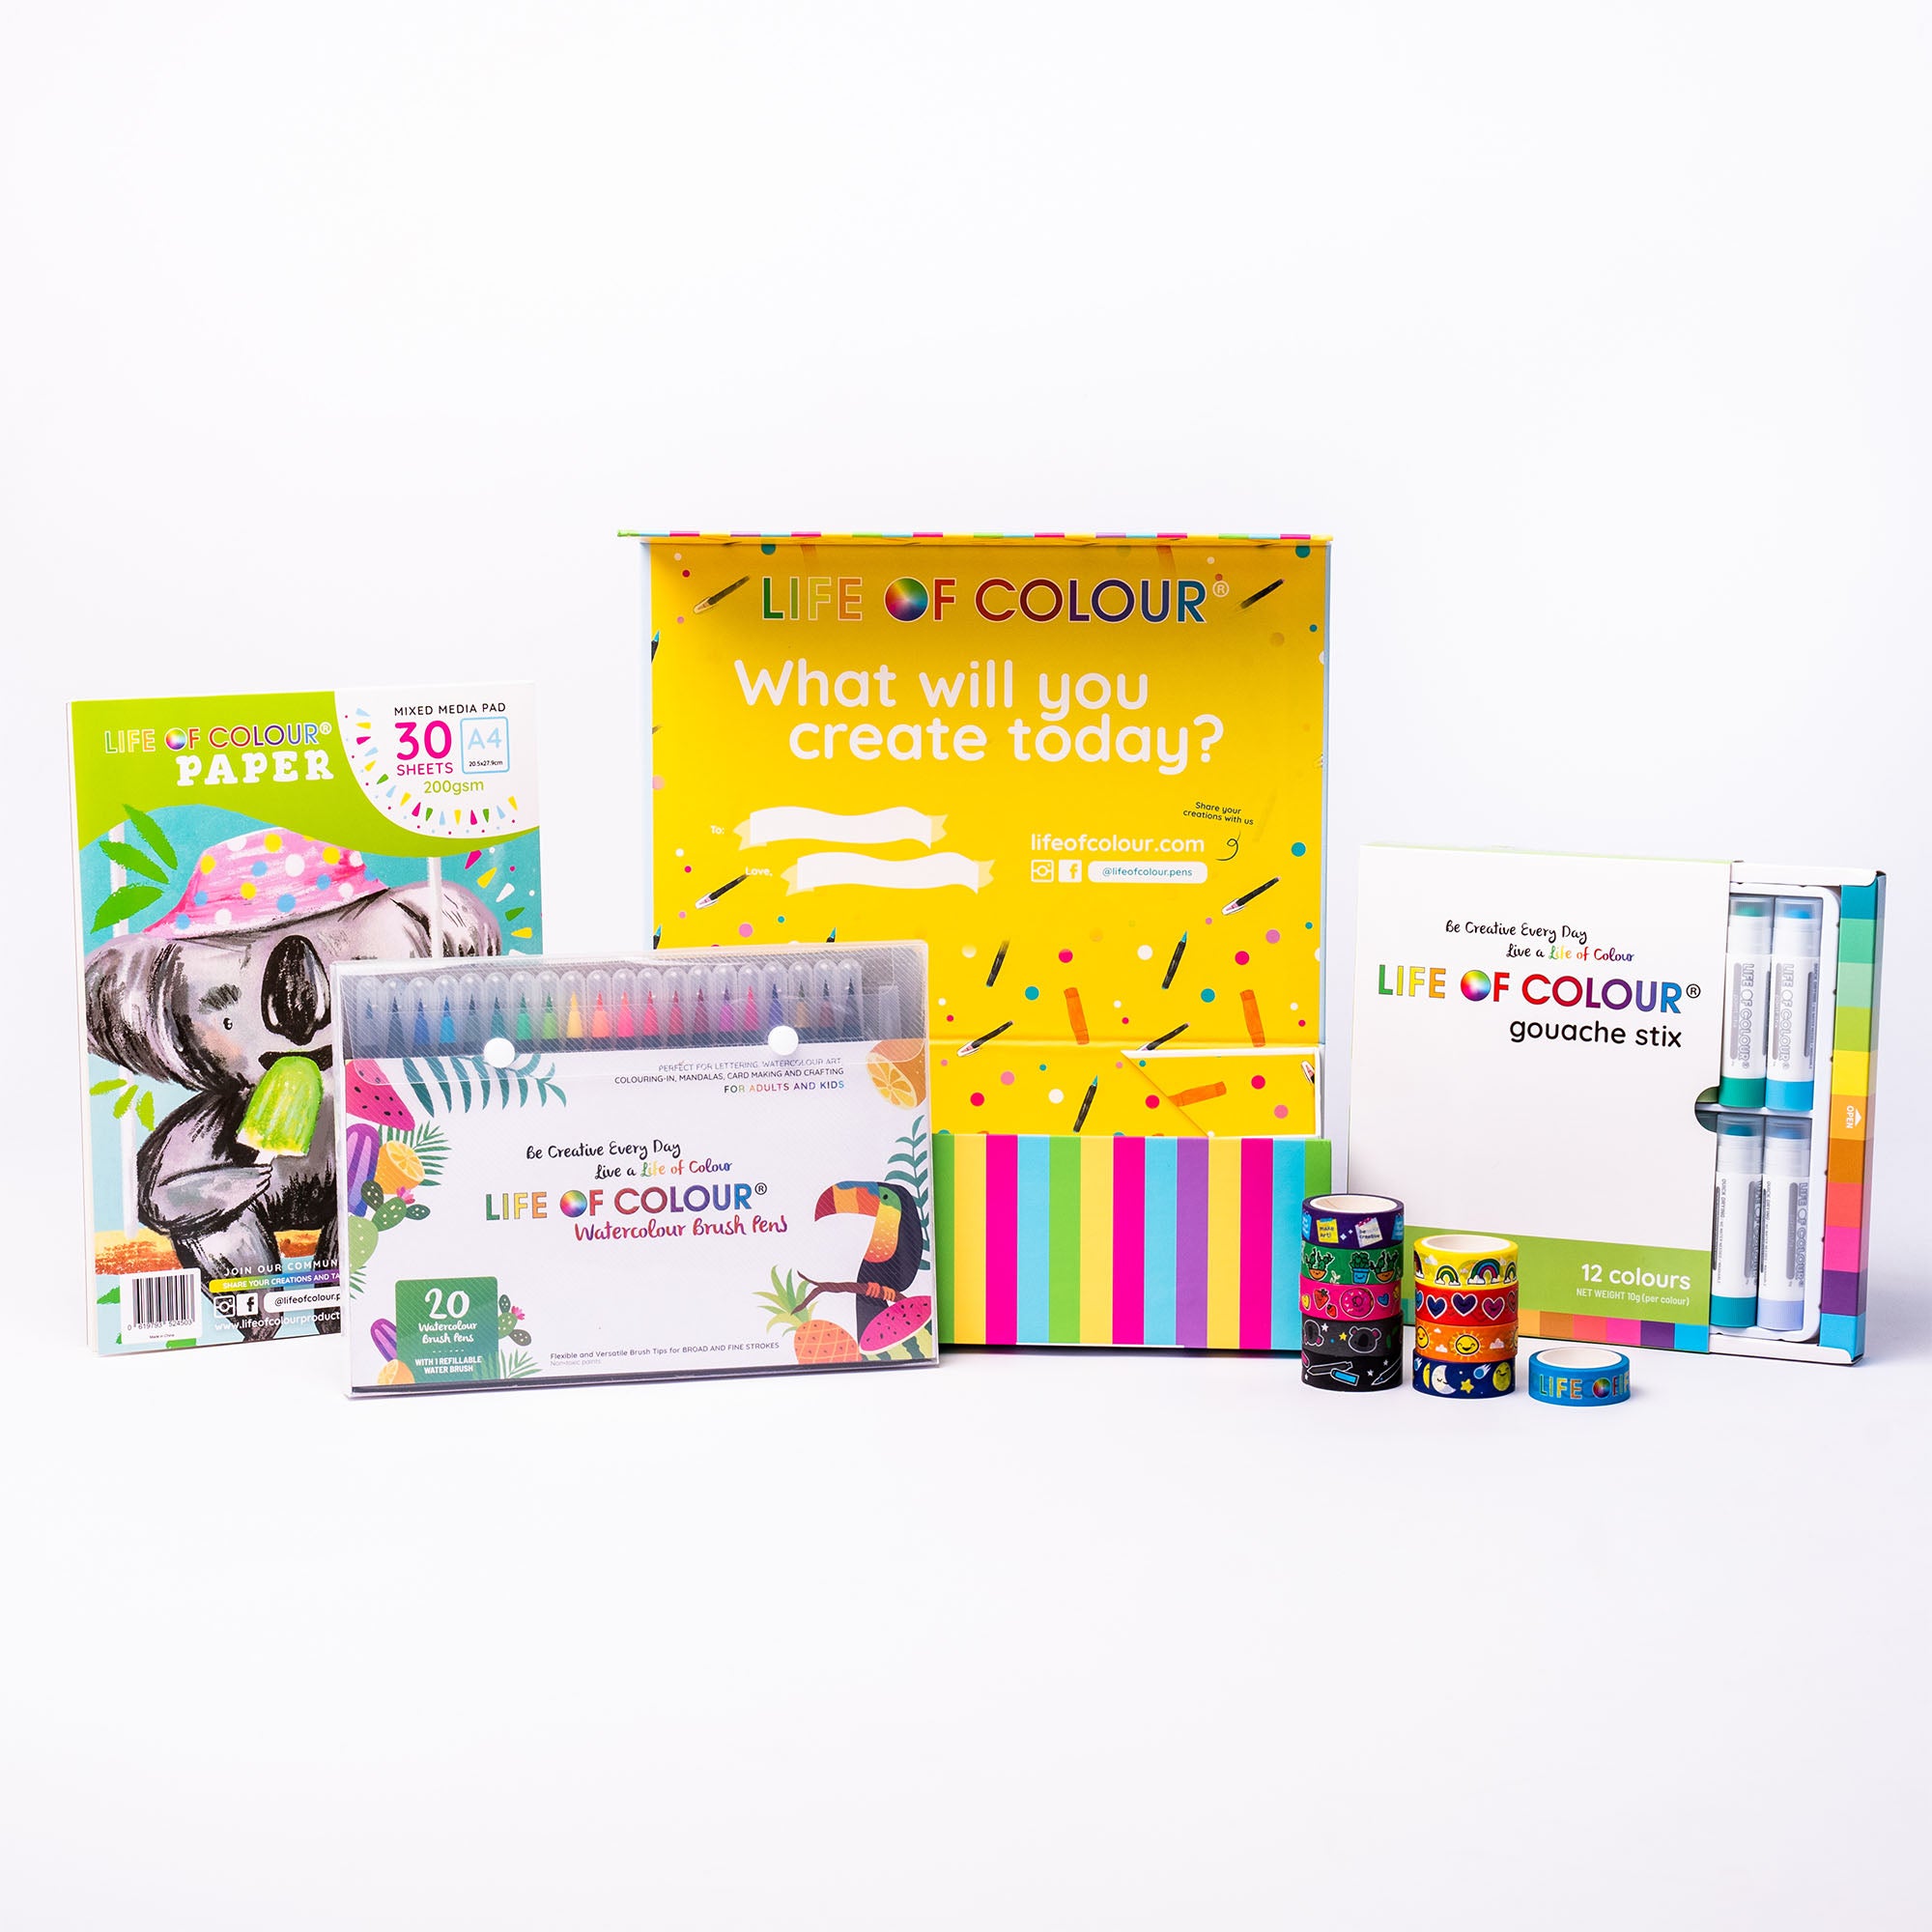
- Life of Colour Watercolour brush pens
- Brush / or the water brush that comes with your watercolour pens set
- Paper towels or a cloth
- A glass with water
- Washitape / tape(get rainbow washi here)
- 20 by 20 cm mix media paper - you can cut a square out of one sheet of the A4 Mixed Media Paper Pad and keep a nice rectangle for swatches or bookmarks
- Pencil, ruler, eraser and scissors.
- Double sided tape or glue
- Laminator machine (optional) o flatten perfectly your finish watercolour piece
- 1,2,3 punch board (optional)
|
Enjoy card making and journaling with our new and revamped bundle that includes handy A5 mixed media cards, rainbow washi tape, watercolour brush pens + water brush, plus your choice of stencils! |
So let’s start!!!!
I will leave you a step by step description and a video on how to make this nice watercolour envelope.
First you need to cut your paper into 7 1/2 “ inches by 7 1/2” , this is important as for you to be able to make your envelope it needs to be the right sizes.
Then you need to trace a line with a pencil all around the square with a width of half an inch all sides, this is important as the proper size of the paper to make our envelope has to be 7” by 7”.

Frame the paper with the washitape, help your self by using the guidelines you have made with the pencil in the last step. Tags will help to stop the paper from curving with the water.
With your watercolour pens draw on the paper in different directions or make lines, this is up to your design too, you can choose you favourite colours, remember to use colours that work together, you won’t want a muddy colour.
Then take your brush and soak it with water, brush on top of the colours so they can blend, the water will do the magic. You can also use the water brush provided in the watercolour brush pen set - whatever your preference they both do the same thing.
Now that you blended the colours, let it dry or use a hot gun or hair dryer to dry it out so we can continue with a cool technique.
Once the blended colours are dry, take your brush and soak it again with water, but this time you will not go over the paper. Here all you do is tap the soaked brush over your dried blended colours to create some splashes on the paper, don’t brush over them. Once it dries it will make a bleach splat effect. You can make this step as many times you like.
Once you finish and you are happy with your piece, let it dry or dry it by using the hot gun or the hair dryer. Once you have it completely dry, you can use your laminator to proper flatten your paper, you don’t need to cover it or anything just pass it through the laminator and it will flatten.
How is it looking? Just a really cool and square watercolour piece 😅
Well let’s go and do the next step, let’s make some envelopes.
Let’s make the envelope
Now that you have your watercolour paper, take off the washitape and cut it 7” by 7”.
Once you have it, if you have the 1,2,3 pounce board just follow the instructions on the left of the board to make your envelope, make sure you use the right sizes, it is the one that says paper size 7” .
If you don’t have the punch board, here I give you the sizes for you to follow and make those lines so you can fold the envelope, you need to measure in each size this.

3 3/8” from one corner and from the other one 2 5/8”, as you can see this measurements are all around the paper if you are on the last corner you measure 2 5/8” then from that corner you make the same size, the image will help you more to understand what I mention in here.
Once you have all your lines, you will see that you have these tiny triangles, well you need to cut these ones before you fold the paper.
Now fold the corners by the lines you have made, then chose the side the you want to be the close tab, once you have decided, use your pencil to make a line along the pointed corner from the bottom part and cut it.
Use your double sided tape or glue to put it together, you need to put just on the bottom tab of the envelope to close it, cut the pointed corner with a corner punch or scissors.

Now let’s write something in the other side of the envelope, you can put a happy birthday or the name of that especial person you are making this for. Remember to use a pencil first just in case we make a mistake so we can go over and erase it with out any problems.
You are done!!!
Here's a video with all the steps.
I can’t wait to see what you can make, this is so much fun.
If you like this idea leave us a comment, don’t hesitate on sending me a message on my Instagram @lettering_our_world if you have any questions.


