
Geometric patterns with watercolour brush pens tutorial
Hello, this is Rachel from @champion.doodles on Instagram. While I have an eclectic variety of creative hobbies I like to share, nearly everything I do has a presence of bright colors. Around Instagram, I’ve seen a lot of geometric patterned creations and wanted to give them a try in my own style. They are are simple as they are fun to create, and there are no limits on what you can do with them.
In order to create these geometric patterns, you will need the following materials: -Paper (watercolor or marker paper) -Skinny painters tape or washi tape -Life of Colour pens -Life of Colour water brush -Optional: ruler, gel pens, etc.

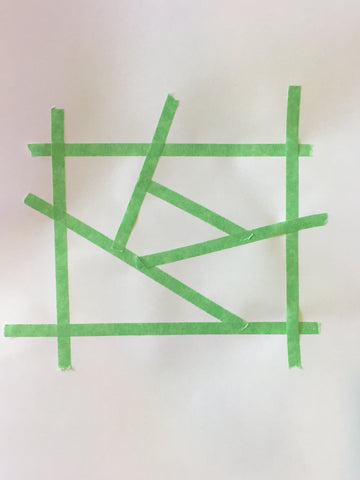
1. First, I start by forming a pattern or shape with the tape. There is no right or wrong way to do it, though if you want to frame it later, measure out the appropriate dimensions.
2.Next, pick colors to fill in the shapes. Try to pick colors that will blend well when adjacent and complement each other well. My go to colors are purple, pink, yellow, and blue but you can go as bright or neutral as you want.
3. Next, you will color the wedges/shapes. I recommend doing one at a time and working fast. To color the wedges, I start with the darker colors and then follow with lighter adjacent colors to attempt to “pick up” the dark color into the lighter one to facilitate blending. You can color the shapes in any pattern or shape you wish, whether it be a vertical, horizontal, or shaped gradient. I recommend keeping darker colors near the perimeter to maximize the contrast with the tape lines.

4. Once you finish adding colors to the wedge, grab your water brush (or a paint brush dipped in water) to begin blending. I always start from the light colors and work my way toward the darker colors, but after each color combination, I wipe off the brush to avoid too many colors lingering on the brush and making a muddy mess.

Try to work relatively fast such that the wedge remains wet upon completion of the water brush blending. By doing so, one thing I like to do to jazz up the shapes is add additional small drops of water to the wet surface to add little crystal like shapes. Less is more because they grow before they completely dry.
5. Repeat steps 3-4 for all shapes and wait for the ink to dry.

6. Once the art is completely dry, peel off the tape. Hopefully, the lines are crisp but if not, a white gel pen can clean up any color that leaked onto the taped regions.


7. You can stop here if you want, or you can add lettering or drawing over your beautiful finished product.

There are many fun uses for these geometric pattern paintings including greeting cards, home decor, and backgrounds for hand lettered quotes.
I hope you enjoy creating these as much as I do, and I look forward to seeing what you create with these geometric patterns in your own style.


